Sunday, 14 February 2016

Sketch ~N~Scrap Layout #98

Hi All,

Today I have the first of two challenges I am entering this weekend. This one is for Sketch~N~Scrap February layout #98.
This layout is a little different for me, in being quite fresh bright and clean looking but never fear I have still managed to get in the mandatory flowers!!!!


This is the sketch given to us at Sketch~N Scrap


I thought these fun black and white photos of my daughter ( whom I admit was having a little joke played on her about her breakfast - which she took in good part as you can see !! ) would look great on bright funky papers so I chose American Crafts: Dear Lizzy: 5th and Frolic. These are lovely bright girly papers and I especially loved the vellum spotty paper which I had to include in my layout!
This layout is quite simple, just paper layering, stamping and inking with a few flowers!

Here are some close ups:


I loved the excuse to use this bright glittery green embossing powder on my chippie!


These flowers I have cut in half and poked them under my lifted paper layers. The flower looks like its been layered underneath, you wouldn't know its not a whole flower and your flowers go twice as far!


I used 3 different Prima chalk ink pad colours on this layout. You can see all 3 in this photo. 
You can also see my faux stitching round the edge of the paper with a black pen.


My photos are matted on 2 paper layers and then lifted up by matting them on cardboard so I have room to poke my flowers underneath.


Tis shows the elevation from adding the cardboard underneath.


I enjoyed the stamping on this layout. I do love the stitching stamps from Prima !


Product list:

American Crafts: Dear Lizzy: 5th & Frolic: 7th & Sunshine
                   "                          "               : Lovely Lane 
                               "                         "                 : Little Moments Lane 
American Crafts: Dear Lizzy: 5th & Frolic: Vellum Spot paper           
American Crafts; Dear Lizzy: Acrylic Stamps
Blue Fern Studio: Chipboard; Laughter, Happy, Smile
Prima Flowers: AnnaLee  #543495
Prima: Cling Stamps:  #570491
Heidi Swapp: sticker words
Wow !: Embossing Glitter: Glamour Green
GellyRoll: fine Black pen
Prima: Chalk Ink Pad: Rose Bud
                 "                  : Sweet Pea
                       "               : Turquoise Stone
StazOn Black Ink Pad


Thank you for taking the time to visit. Hope you liked this layout !

See you soon,   Ginny :)


Saturday, 13 February 2016

A layout Process - 1

Evening All,

Good news - I have my laptop back ! It's so nice to be back doing a post with my familiar keypad and programmes !
Today I'm sharing a layout I have made using the January kit from My Creative Scrapbook. I am including a little 'here's how I did it' process with the all important photos !
So here's the layout of my wonderful Dad !


Now for a short rundown on my process for this layout:


 On my chosen background paper I stencilled through a mask with Distress Ink Frayed Burlap around the outside edge of the area where I am going to put my photo.


I then used the same stencil again, turned it 180 degrees so the pattern comes out slightly different, and used it with white texture paste in the same area.


I layered up my photo with cardboard backed behind it to lift it up of the page and layered that on to a 6x4 piece of pattered paper slightly off set. I always put my tape/glue in the middle of the pieces I am sticking down to allow room around the outside edges to poke embellishments or more paper underneath.


And adhered them to my background paper.


I then tore some scraps of papers from the same paper collection into strips.


I then used these torn pieces and layered them up, poking them under the raised up photo. This way they look like they are coming out from behind the photo but it uses less paper, you can use up scraps and you can add as you go along if you think the layout needs rebalancing anywhere.


Again some of my layers are backed with cardboard (or foam tape) to give dimension and I've layered up with some ribbon too.


I then added my title using the alpha's from the kit and the smaller type alpha's from my stash.


Next came the embellishments. The die cut leaves and flowers, finishing off with a butterfly from the collectables pack.


And lastly I finished off with some stamping with black Staz On ink.

Product list:

Kaisercraft; Treasured Moments Paper collection
Kaisercraft; Treasured Moments Collectables
Prima flowers; Sugar Blooms collection #549060
Prima; clear stamps; Rosarian #559472
Amy Tangerine Thickers; After Glow
Kaisercraft; Mini Alpha stickers; Cream
Distress Ink; Frayed Burlap
Dreamweaver; Crackle Embossing paste; white
The Crafter's Workshop; stencil; mini tile texture
Spellbinders Die; Foliage
Staz-On; Black Ink pad
Ribbon from the kit


Thank you for stopping by my blog today. Please come back soon :)


Thursday, 11 February 2016

Let's get Sketchy February Week 2

Hello everyone, I'm trying to catch the Friday deadline with this layout for Let's get Sketchy February Week 2. My laptop has decided it's very over worked and needed a break at the computer shop to have some TLC!! Not very helpful when I need it!!! So I have borrowed my daughter's touchpad and I'm attempting to do all my photo editing and blog post on this which takes twice as long as normal when it's not already loaded and available with one tap and I know where everything is!!!
So here is my layout. I do hope this is going to look OK. All the editing is slightly different to that I'm used too.
Take a visit to http://letsgetsketchy.blogspot.co.uk


Here Is the sketch we had to follow.


I used paper collection Prima Seashore as the blues were the perfect shade with the beige tones as well, just to show you that these papers are not just for Seashore themed layout's! I found the baby lace in my stash, just perfect with all those baby motif's in it. My flowers were a mixture of Prima and ones I made using Martha Stewart moulds.

Product list:

Prima Seashore: 12x12  shore side
Prima Engraver: Wood button's #564964
Prima Seashore: 3x4" journalling cards
Liquid Pearls: White Opal
Prima:Got Flowers - Bright
Stampendous embossing powder:  detail white
Gelly Roll: White pen
Prima: chalk ink pad: Worn Jeans
Laces and seam binding from my stash
Viva: Perlen-pen: white
Martha Stewart: Clays and Moulds
Blue Fern Studio: Trellis chipboard
Texture paste: crackle
Prima: stencil #564216

Here are some close ups;


You can see the Prima chalk ink Worn Jeans on the edges of the papers

I used Liquid Pearls on the 'Cute' and a close up of the clay bird.

I love the baby motifs in this lace I found in my stash !


The cracks from the crackle texture paste sow up in this photo with the clay flower nestled in with the Prima ones.


Thank you for stopping by
Ginny :)


Monday, 1 February 2016

A Layout using My Creative Scrapbook Limited Edition January kit

Hello All,

I have had a day off work today and have had a lovely scrappy time, after of course, doing the housework just to make myself feel better that I was spending the rest of the day feeding my obsession !

Today I have been creating with My Creative Scrapbook Limited Edition January kit. This beautiful kit is full of Kaisercraft  Timeless Memories paper collection.
This layout I have created with the Recollection, Nostalgia, Ponder and Memory papers and the Timeless Memories Collectables ephemera, the Prima stamp set and the Amy Tangerine alpha's. The two roses I confess are not among those in the kit, I am saving those for the next layout !


Here are some close ups to show the details


I used the stamp set on my bunting, to look a bit like stitching


Lots of layers, cut and torn to add interest


Edges inked in Walnut Stain distress ink


The stamp set again is used around the edge of the 12x12 to border it
and the ends of the banners


The alpha's are fab, they are foam and thick and add texture


Hope you've enjoyed your visit to my blog, please come again

Ginny  :)


Monday, 25 January 2016

Let's get Sketchy January Week 4

Hello again !

For the second post today we are off to Let's Get Sketchy and the January week 4 sketch challenge.
For this layout I used an old favourite paper line of mine from My Minds Eye.


And here's the sketch we followed;


Products used in this layout;

Paper

My Minds Eye; Bluebell; "Every Day" Garden
My Minds Eye; Bluebell; "Smile" Bouquet
My Minds Eye; Bluebell; "Bright" Blossom
My Minds Eye; Bluebell;  "Remember" Journal

Other

Prima Flowers; #577650
Petaloo Flowers; Darjeeling; Wild Mini Blossoms; soft grey
Martha Stewart punches
Distress Ink; Frayed Burlap
Distress Ink; Vintage Photo
Dreamweavers Crackle Embossing paste
Prima mask
Gesso
Wood butterflies, title, heart, raffia twine and lace from my stash


Here are the close up's  :)


Hope you like this creation, thanks for stopping by my blog, come back soon !

Ginny   :)


Sketch~N~Scrap Mid Month Sketch challenge

Hello everyone !

Another weekend over and another week begins. Today I have my layout that I've created for Sketch~N~Scrap's mid month sketch challenge.


Here is the sketch we followed. I turned the sketch around.


Products used for this layout;

Paper

    Prima; "The Optimist" collection; Happy
Glizt Design; Wild & Free; Arrows
Heidi Swapp; Sugar Chic; Drama
Heidi Swapp; Sugar Chic; Adore

Other

Prima Flowers; Lil Missy; #571634
Prima Flowers; Pattern Coordinates So Cute; #543549
Bazzil Basics; Crocheted Blossoms; pink
Blue Fern Studio; Chipboard element
Prima; Chipboard; Songbird
Cosmic Shimmer; Embossing Powder; Lapis Pearl Lustre
Prima; Chalk Ink Pad; Old Road
Enamel dots & Lace from my stash

Here are some close up's of the details;


The Cosmic Shimmer Lustre embossing powder is fun to use as it takes on different colours depending on the colour background it is put on. On a white background it will come out a pearl with pink sheen colour and when put on a dark or black will come out in green. I used it directly onto the raw chipboard to get the green colour.


I hope you like my layout, thanks for stopping by,

Ginny   :)


Thursday, 21 January 2016

Pretty in Pink Canvas

Hello everyone!

Today I'm sharing with you my canvas I created for Cindy's January Canvas challenge over at Swirlydoo's monthly kit club.

I absolutely loved doing this challenge!
Here it is ......


I had no plan with this really, it just evolved, apart from it was going to be pink tones.
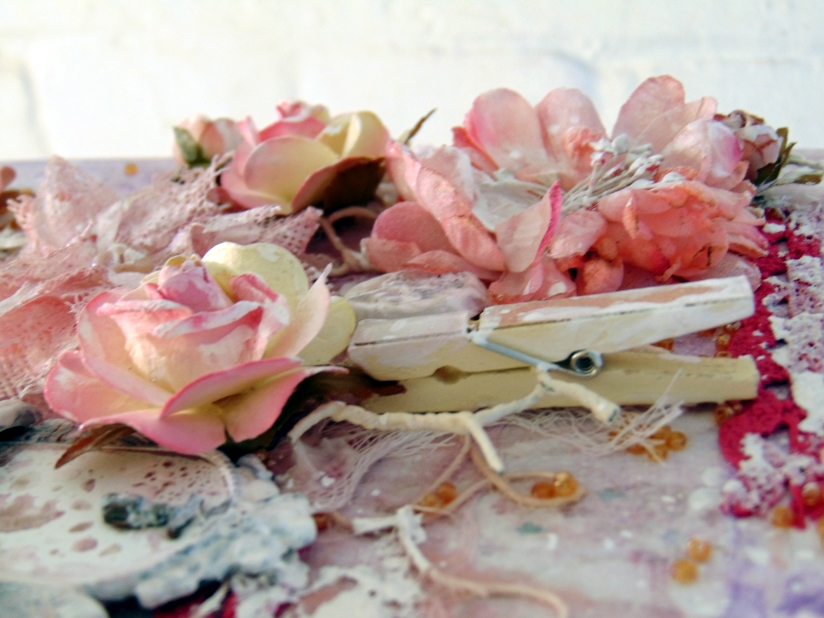
I raided all my Swirlydoos embellishments I have left over from previous monthly kits and added a few other bits and pieces with lots of mixed media. My canvas design base started with some Maja Design Vintage Summer basics paper.

Products used;

Maja Design; Vintage Summer Basics; 1925
Windsor & Newton Artists Acrylic Clear Gesso
Dina Wakley Media; Gel Medium
white Gesso
Prima; Color Bloom; Iris
Tattered Angels; Glimmer Mist; Crème de Rouge
My Besties; Glimmer Spritz; Due Kissed Honey
Finnabair Art Ingredients;Glass Beads;Plum
Petaloo; Burlap Birdsnest flower; pink
Petaloo; Mums and Butterlies; pink
Prima; Shabby Chic Treasures; Antique Garden Sinks #892326
Prima; Junkyard Findings; Vintage Trinkets; Typo zippers; #891558
Prima; Wood Icons; Debutante; #579555
Prima; Wood Embellishments; Fairy Rhymes; Pegs; #563790
Prima; Buttons; #559830
Scrapberry's Roses; Pink
Chicken Wire from Swirlydoos kit
Cheesecloth, pearl trim, string and laces from my stash


I hope you like this project !!! :)
Thanks for popping by and enjoy the rest of your day !!

Ginny   :)