Showing posts with label Card. Show all posts

Friday, 30 November 2018

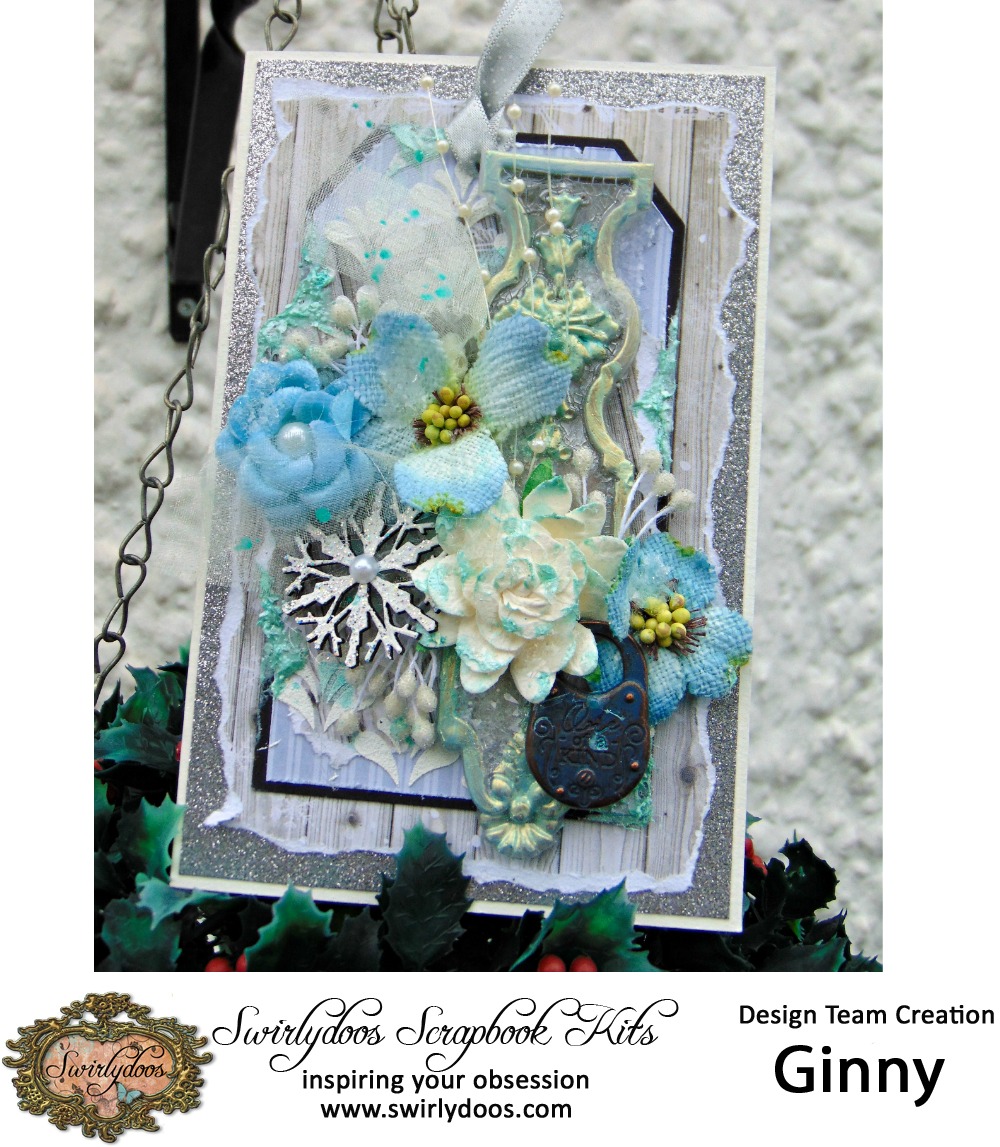
Greetings Card Set 2 - Tres Jolie Kits

Hi all, 

Today I'm sharing another set of cards created with the Cards Tags and More kit!

These cards are a little bit more modern and bold compared to the shabby chic set I made at the beginning of the month. I hope you like them!


Here is each card close up.


Here is a short process on how they were put together.


I started with the Card blank for my base.


Now for all the layers, each photo shows you each layer in order with the measurements.


Distress all edges


Layer and stick all pieces on the card base in order of size, largest to smallest.


Add  a strip of gems down one side


And a group of flowers in the corner.

Lastly emboss the chipboard word greeting with black embossing powder and glue in place on the card.


If you are interested in this Card Tags and More Kit or the other two kits available from Tres Jolie kits then please look HERE


Tres Jolie Kits can be found in the following Social Media sites


Happy  Scrapping!

Ginny


Monday, 24 April 2017

April Mini Card Challenge ***Swirlydoos***

Hello!

Another day another challenge!
I did this challenge whilst I was away recently at my mothers as it was a simpler project to transport on a train then a load of mixed media products for a layout into a small suitcase! I could maybe have done a simpler layout without mixed media but I was quite excited and inspired to do something different for a change and this was the perfect opportunity.

Bec's card challenge at Swirlydoos for April is a set of Mini Cards.

My cards ended up a little bigger then I had at first planned but this was because by the time I had decided what features and dies I wanted to use the card HAD to be a certain size to fit them on! They are however smaller then a regular card or indeed any card I would normally do!
I do have to confess to rummaging through my Mothers die collection too! Its always exciting to use something of somebody else's, something you haven't got, something new!


So lets get on with it! Here are my cards.....


These are simple styled cards constructed using layers. They measure 8 x 13 1/2cms. The card itself is made from White Centura Pearl cardstock from Crafters Companion. This card has a lovely shimmery sheen to it.
The backing paper is a paper from the Prima Marketing 'Ledger' 12x12 pad. I rounded the corners with a corner punch and inked the edges with Distress Ink Walnut Stain. Before sticking to the card blank I wrapped a pretty piece of ribbon around the paper with the ends stuck neatly underneath the background paper.


The pretty tag was cut out using a piece of pink and white dotty paper from my stash and again inked with the Walnut Stain ink and glued to the card over the top of the ribbon.
The cameo heads were cut out using plain white cardstock. The cameos have been mounted on thin foam pads just to lift them slightly of the tag and were not inked.


The two dies I used on my page were:

Marianne Dies - Decorative Tags
Marianne Dies - Lord and Lady

The simple embellishment cluster was some dusty rose coloured twine tied into bows with 1 white blossom flower and an arrangement of 4 tiny pink flowers. The cards were then finished off with some Nuvo Crystals drops in Antique Rose in the corners.


Products used on these cards


Crafters Companion: Centura Pearl Cardstock; white
Prima Marketing:  Ledger 12x12 pad
Dotty pink/white paper
Plain White Cardstock
Tim Holtz: Distress Ink: Walnut Stain
Marianne Dies: Decorative Tags
Marianne Dies: Lord And Lady
Nuvo Crystals: Antique Rose
Dusty Rose Twine
Wild Orchid Crafts: Miniature Sweetheart Blossom: Pink/White
Wild Orchid Crafts: Sweetheart Blossoms: Ivory
Ribbon


Well that's all for today,

Happy crafting!


Ginny :)   💕


Saturday, 18 March 2017

*** March Card Challenge at Swirlydoos***

Hi all,


Today I'm sharing a card with you!
I created this for Bec's March Card Challenge at Swirlydoos Kit Club.


The theme for this month card challenge was - Die Cutting.


So here it is:


Here are close ups of details.


I used a Creative Expressions Die called 'Fern Trio' for the leaves,
and a Spellbinders die ' Elegant Labels 4' for the intricate background  - cut twice in two different colours and using one section from each cut to get the two tone colour effect. This was backed with a pattered paper from Prima Princess collection on a card made to approx.5x7" from the Centura card.


My flowers  and brads are all from previous Swirlydoos Kits.


I love this 'Happy Birthday' script stamp, it gives a great effect used as a background stamp.
I stamped this over the pink card (middle part of the Spellbinders die) which I had dry brushed over with gesso to give a soft shabby look to the pink.


Products used on this card

Prima Marketing: Princess A4 Pad
Pink Cardstock
Beige cardstock/PP
Prima Marketing: Flowers: Tales of Me & You #586263 (S)*
Prima Marketing: Brads: Tales of Me & You #583873 (S)*
Prima Marketing: Brads: Salvage District #583859 (S)*
Creative Expressions: Die: Trio of Ferns
Blue Fern Studio: Flowers: Courtship Lane  (S)*
Petaloo Flowers: Cherry Blossoms: Cream  (S)*
Crafters Companion: Centura Pearl Card: White
Ribbon
Gesso
Spellbinders: Die: Elegant Labels 4 : 5x7

* Products used from previous Swirlydoos Kits.


To check out this challenge pop over to the Swirlydoos forums using this link.


Thanks for stopping by today


Ginny :)  💕


Tuesday, 14 February 2017

Valentines Shabby Chic Card

Happy Valentines Day!

So I thought today would be the perfect day to share my shabby chic 'stepper' card!

This card is entered in Bec's February Card Challenge at Swirlydoos.

You can find this challenge on the Swirlydoos Forums HERE


For this card I used Prima Marketing Rossibelle 'Sweet Souvenir' paper, Pebble black Gingham paper, pink cardstock, and gems were from a previous Swirlydoos Kit.


My stepper card was made from a piece of Centura Pearl card from Crafters Companion, cut to 6.5 x 11 inches.
Along the long side of the card it was then scored at 2, 4 and 7.5 inches and folded up in a 'm' shape ready to decorate.


Products used on this card:

Prima Marketing; Rossibelle; Sweet Souvenirs
Crafters Companion Centura Pearl card
Pebble; Basics:  Black  Dots/Gingham paper
Bazzil Cardstock; pink
Wycinanka 'Love Photo frame;
Stampendous;  embossing powder; detail white
Roses, doilies & ribbon from stash
Scrapberry flowers; Stemmed Lilly: white
Dried Flower: Anne Marie Designs
Prima Marketing: Rossibelle Druzy Stones.


Thanks for stopping by


Ginny   :)


Saturday, 7 January 2017

***Swirlydoos Saturday Tutorial***

Hi all,


I'm up on the Swirlydoos Blog today with the Saturday tutorial.

I have created a Magnetic Tag Card made with the December Swirlydoos Kit. The tag is attached to the card with magnets, allowing the tag to be removed and kept as a keepsake, a fridge magnet.


On this card I have used the Ice Resin and the Prima IOD moulds from the Swirlydoos December Technique Kit Add On.


There is a SNAPGUIDE tutorial for this project which can be found via the Swirlydoos Blog page


For more information on subscribing to Swirlydoos Scrapbook kit Club visit

Thanks for visiting my blog and I hope you've time to go visit the Snapguide tutorial!

Happy crafting!

Ginny.


Saturday, 17 December 2016

***Saturday tutorial over at Swirlydoos***

Hi everyone!

Today I'm up on the Swirlydoos Kit Club blog with the Saturday tutorial.

I had one piece of 49 and Market PP left over from my November Swirlydoos Market Street kit and thought it would make a lovely card! So in this tutorial I am making a 'Z' fold greetings card using the November kit.

If you pop over to the Swirlydoos blog HERE you will find the link to the SNAPGUIDE tutorial.


And a close up on one of the handmade flowers


Thanks for stopping by today

Ginny   :)


Wednesday, 26 October 2016

Shabby Chic Card

Hello all!

Today I'm sharing a card I have made with the Swirlydoos September 'Creamsicle' Kit.

This kit featured BoBunny papers from the Bella Rosa papers.


I cut a piece from the 12"x12" 'Reflection' paper to fit my card with distressed edges.

I used a piece of the floral Chippies, from the Embellishment Add On kit,  painted in gesso as a base to my flower cluster.

I used the word 'dream' from the Rosa Bella Combo sticker sheet.

I added some Wycinanka Corner die cut pieces from my stash in the corners.

The Prima butterfly was from a previous Swirlydoos kit.

The flower cluster ( Petaloo and Prima flowers) were finished off with some small white roses and dried flowers seeds from my stash.


Products used:

Swirlydoos Main September Creamsicle kit
Swirlydoos Embellishment Addd On September Creamsicle kit
Swirlydoos Flower Add On September Creamsicle kit
Wycinanka - Ornamental Wuthering 2
Dried Flowers - Anna Marie Designs
White small roses - Live And Love Crafts


Hope you have liked this card!

Please visit Swirlydoos.com for more details on the monthly scrapbook kits delivered to your door.

This is a Design Team project I created for Swirlydoos Scrapbook Kit Club. If you’re ready to start getting perfectly coordinated, top of the line scrapbook kits delivered to your door, please visit us at www.swirlydoos.com. Mention my name (Ginny) when you subscribe and you’ll receive 10% off your first kit, AND a coupon good for 30% off your entire purchase in the Swirlydoos.com store!


Monday, 5 September 2016

**Swirlydoos August kit 'Tranquillity' 2nd Reveal**

Good morning Swirly ladies,

I am back with my 2nd reveal for Swilrydoos Kit Club August kit 'Tranquillity'!

I loved the range of themes/looks that one could create with this months beautiful papers from Blue Fern Studios.
This next layout I'm going to show you is my favourite theme - the 'beach', I love anything nautical and seaside, it usually includes my favourite colours and I just love getting carried away with a bit of mixed media too!
 Here it is...

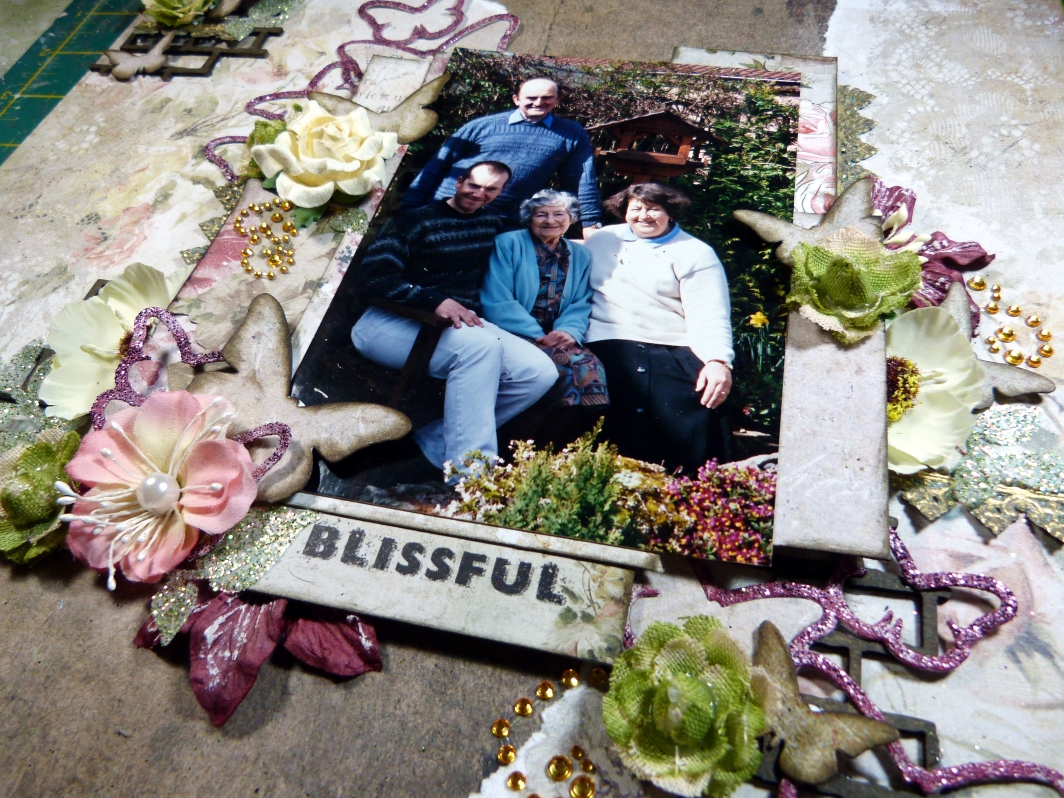
Beach Layout


I cut the wood panels out of the 'Calling Card' paper and stuck them onto the 'Patience' paper and then did some mixed media over the top. I used a gesso wash in the photo area and then layered up stencilling with the Tim Holtz Grit Paste, texture paste mixed with some blue paint, some embossed areas with the Blue Fern Studio embossing powder 'In The Navy', I stamped with Coffee Archival ink and the Crackle stamp from the Mediums Add on. I used some Nuvo crystal pearls from my stash and finished with some Gesso splats. I also incorporated some pieces of the gold trim from the main kit altered with the VerDay Iron paint and patina solution from the Technique Add on kit.
My BFS chippie and picket fence piece was covered with the BFS embossing powder Mushroom.
The wood signs were altered with the VerDay Brass paint and Patina solution and I used the alphas from the main kit for my title.


Layout with Tutorial                                                                                                                             

Next up is a layout I have created with a Snapguide tutorial. This is another example for inspiration for the All That Flutters Challenge on the Swirlydoos Forum.


I tore up the 'contentment' paper and mounted it onto the 'Serenity' paper I used some leftovers pieces of PP from my previous layouts to mount my photo on. I used Archival ink 'Coffee' on my brick chippies. My gold foil trim this time was altered with the Brass paint and patina from the VerDay kit. I covered the sticky Queen & Co leaves, from the embellishment kit,with the BFS glitter 'Army Dust' from the main kit. I used the die of the month and cut it into 3 pieces, covered it with the BFS embossing powder 'Magenta' from the main kit. The butterfly pieces that fall out from the die when its cut I also used with inked edges in walnut Stain.


Here is the link to view the Snapguide tutorial


Tranquillity Card                                                                                                                                                                                                                                                                     

Lastly I have done a card.


For this card I used a piece of blue cardstock from the Cardstock add on and embossed it with an embossing folder. I then used my sand block to rub over the raised pattern to distress it a little.
I then embellished it with the gold trim from the main kit, the Magnolia Lane ephemera, pearl strings, the cameo, a piece of the picket fence and the blue flowers from the flower add on. The white flowers are from my stash. It was finished off with some Nuvo crystal pearl drops from my stash.


Thank you for stopping by today.

Please come and check us out at www.swirlydoos.com, visit our scrapbook store at www.swirlydoos.com/store, and If you’re ready to start getting perfectly coordinated, top of the line scrapbook kits delivered to your door, please visit us at www.swirlydoos.com. Be sure to mention my name (Ginny) when you subscribe and you’ll receive 10% off your first kit, AND a coupon good for 30% off your entire purchase in the Swirlydoos.com store!