Thursday 28 June 2018

Mixed Media Canvas For Tres Jolie


Hello All!

Here is my last project made with the June Kit from Tres Jolie Kits.


This is my second project made with the Mixed Media Kit..... a canvas.


I thoroughly enjoyed doing this project, it was so much fun!

So lets go through step by step and I can show you how the end result was achieved!


I started by painting the 5x7 inch canvas with clear gesso.


I used the two brown Alcohol Inks from the Mixed Media Kit, Caramel and Latte. 
I added a blue, Stonewashed and a mixative, Gold, from my stash as well.


I sprinkled droplets of the two inks, Caramel and Latte onto the canvas.


I then used some blending solution over the ink droplets to make them 'run'.
This solution was also from stash but is handy when working with alcohol inks.


Z


This is what the canvas looked like after the blue and gold had been added with more blending solution. 


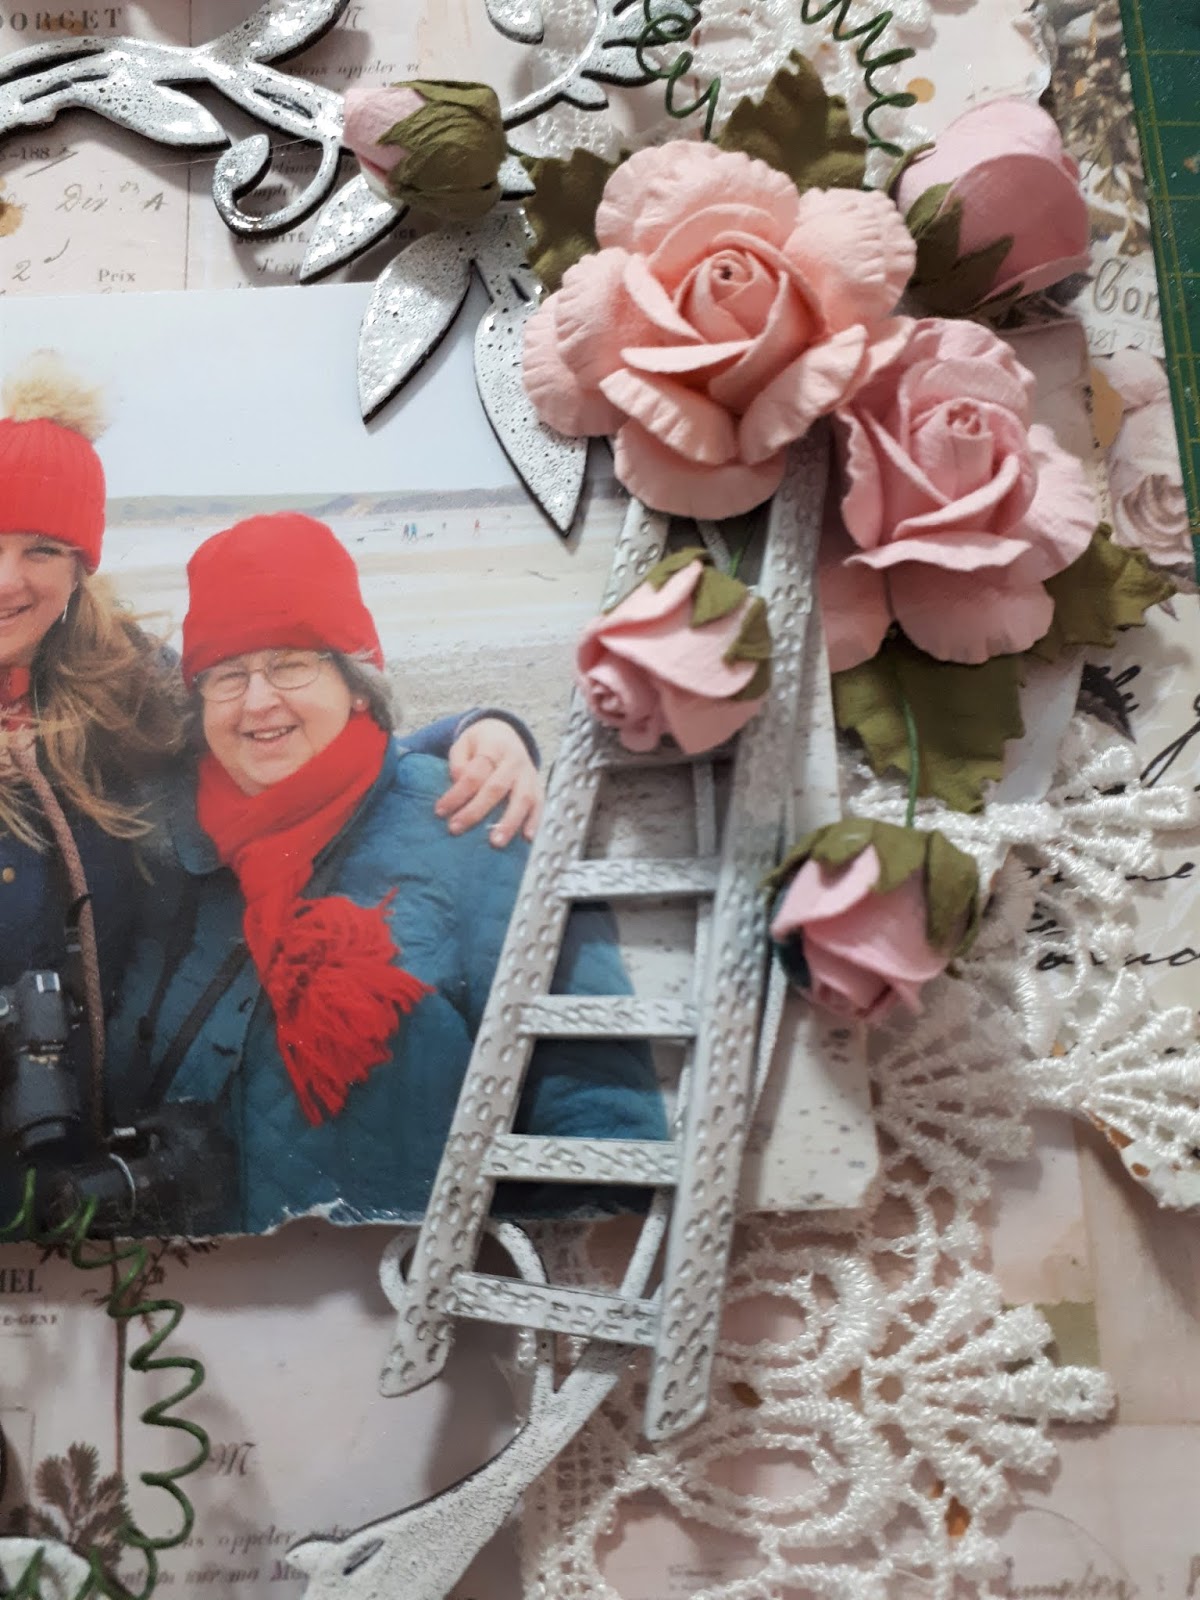
I cut the leaves and flowers from 13 Arts paper...…..


like so.....


and the flowers....


I then used the texture paste from the Mixed Media Kit with a stencil  to add more detail across the layout. 


To adhere the fussy cut leaves and flowers to the canvas I used a gel medium and used it underneath and over the top of the cut pieces to completely stick them and protect them on the canvas.


The butterflies from the Prima set I did slightly differently to each other. The big butterfly I painted the concave parts with the gold Mixative. the smaller one I gently rubbed the gold over the risen pattern only wit my finger.


Then using a piece of cloth I then gently rubbed in some of the blue alcohol ink around the risen borders of the butterflies in various depths of strength. 


I glued these to the canas with my hot glue gun.


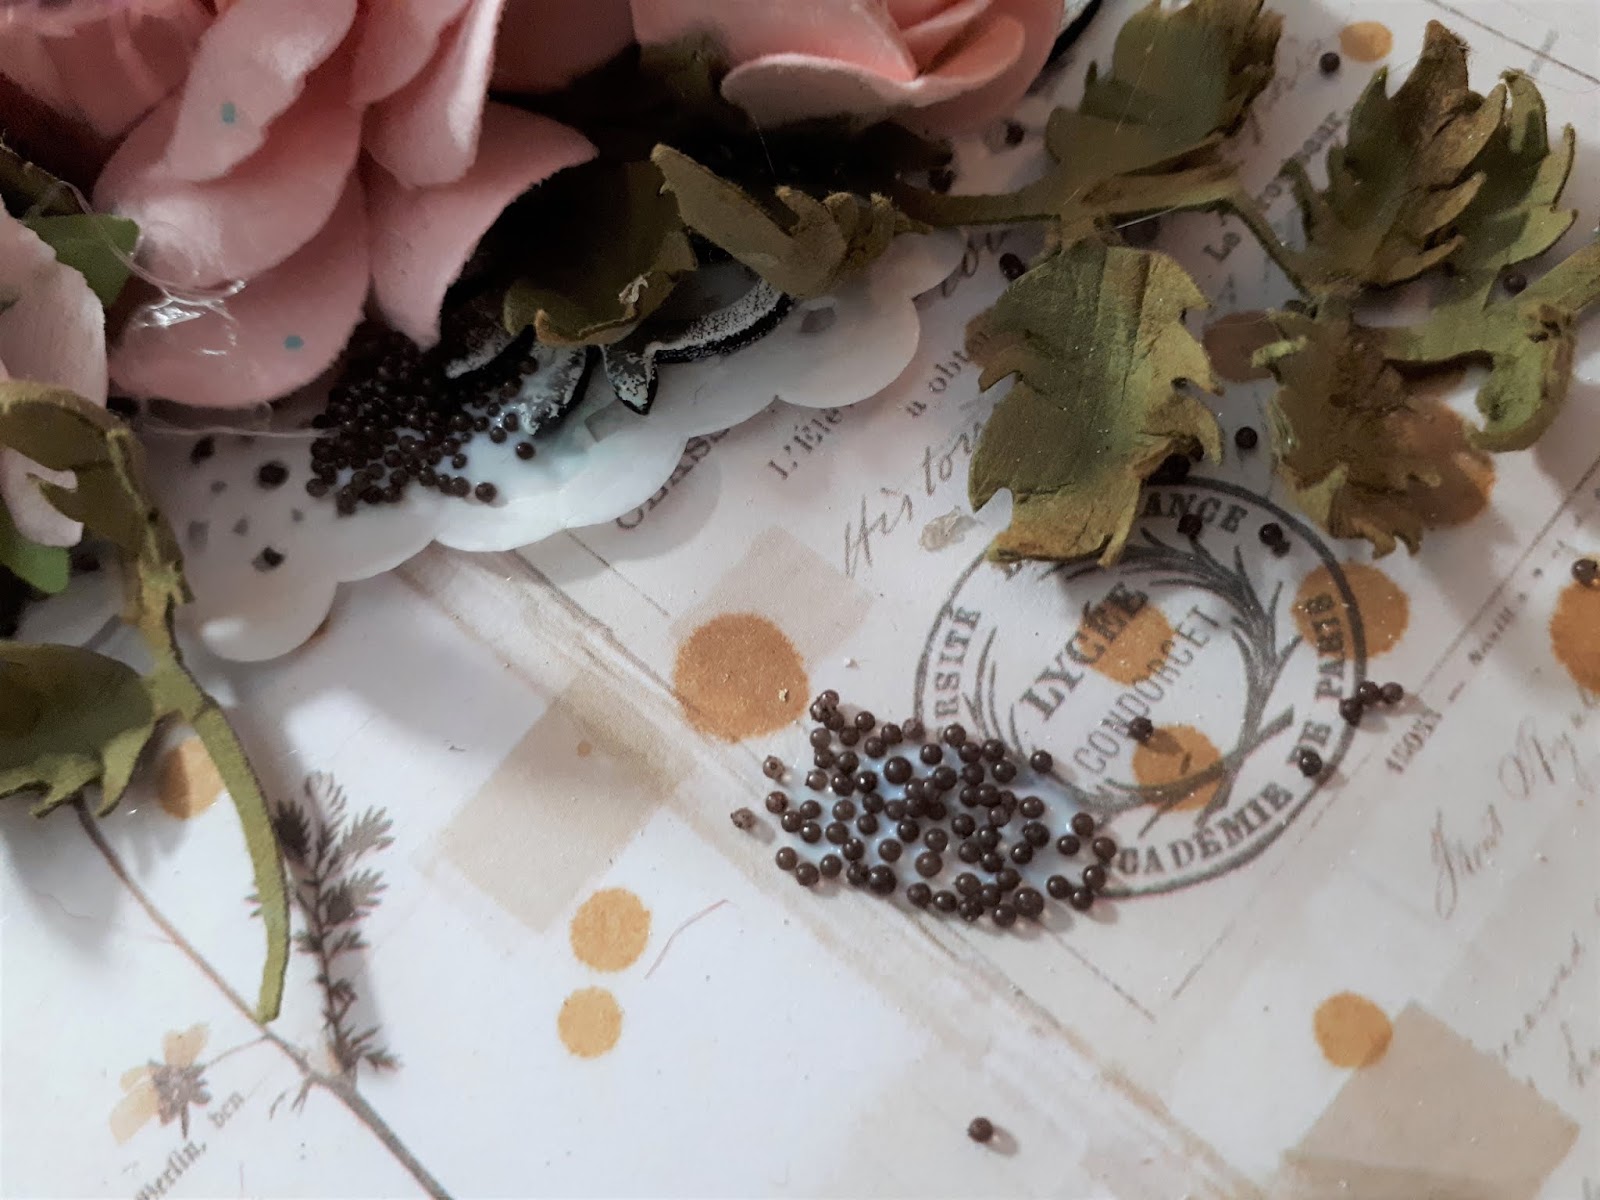
Next I used these Microspheres from the Mixed Media kit....


a poured/sprinkled them where I wanted them into already applied gel medium. 
The medium will take a while to dry but will dry clear leaving just the microspheres. 


Like this...


And I created a butterfly trail with them too!


Thus erse was cut from the paper I showed you earlier too and I inked round the edges with the gold mixative.


I popped it on a piece of cardboard to add height and glued onto the canvas.


And here is the finished canvas.


Products Used on this Project:

Mixed Media Kit:


Prima:  Matte Resin Craft Blanks - Butterflies
Tim Holzt: Alcohol Inks: Caramel & Latte
13 Arts: Brown Microsperes 
13 Arts: Until Dawn: All Good Things
Ranger: Texture paste: opaque white

Other products used:


5 x 7 canvas
Clear gesso
Tim Holzt: Alcohol Ink Stonewashed
Tim Holzt: Alcohol ink mixative gold
Tim Holzt Blending Solution
Stencil
Gel Medium


If you would like to subscribe to Tres Jolie Monthly kits then follow the link below for more details.


To visit the Tres Jolie blog go to the following link


Tres Jolie is on Facebook below


And Instagram


Thank you for reading along with me today.

I cant wait for next month!

Ginny :)


Friday 22 June 2018

Dream Layout for Tres Jolie Kits


Hello all,
I'm back with another layout today made using the June Kit from Tres Jolie Kits.
This layout is actually very simple, with only a little paper layering, and fussy cutting.
For this one I used the 13 Arts papers in the kit.


These are gorgeous papers from 13 Arts.
I used one of the papers as a torn background border down the centre of my layout, the edges torn as always!
I ran a piece of the beautiful lace down one side of this paper layer just slightly slotting it underneath.


And splattered the background with the Patina Ink from the Mixed media kit.


Again I did a lot of fussy cutting for this layout. I slotted them into my photo backing layers along with the lovely resin feathers.


The photo is popped up on an a piece of cardboard so I have plenty of room to slot other embellishments under. My photos are backed with a piece of matching 13 Arts Paper with torn edges (or use a distressing tool)


I added some lovely lace leaves, the shabby chic resins feathers and flowers.
I cut the word for my title out of the 13 Arts paper: All Good Things.


Products from the Scrapbook Kit:
13 Arts: Until Dawn: In the Garden
13 Arts: Until Dawn: Frosty Garden
Prima: Vintage Floral Collection: Pink Promises
13 Arts: Until Dawn: All Good Things
Prima: Resin Icons: #573355
White Lace
Products from the Mixed Media Kit
Ranger: Alcohol Ink: Patina 


We offer 3 different kits, you can subscribe to all or just the one(s) that suit you crafty needs.
Scrapbook Kit
Cards, Tags and More
Mixed Media
Then contact Kim by email at  Kim@tresjoliekits.com 
Dont forget you can find us on,
Facebook
Instagram
Thanks for stopping by the blog today....
I hope you are enjoying all our Design Team Projects we have been sharing with you on the blog so far this month!
Happy scrapping
Ginny  :)

Thursday 14 June 2018

June Sketch Challenge Layout: Tres Jolie


Hello everyone!
Ginny here with you today, to share with you my sketch layout for the challenge this month here at Tres Jolie!
Here is the sketch:


Dont you agree it's a gorgeous sketch to get the inspiration going? Carry on reading further down this blog post for details on how you can enter this months challenge.
Here is my interpretation of the sketch

Photo Tutorial

I have done a step by step photo tutorial of my process making this layout.

I chose my backing papers, this one - Misty Foils.

And this one... The Good News.

After trimming 1cm off from round all sides of the paper, I then heavily distressed it - to the point some of you will think I've torn it!
Layer this paper up on top of the 'The Good News' paper
I cut some small pieces of the lace, about 1 1/2" and slotted them into the bigger gaps/tears round the edges of the top background paper. This is a cheat, it makes it look like there is a border of lace in between the background papers but saves you on the amount of lace used so you loads more lace for another project!


I used the chipboard piece, I painted it first with gesso and then when dry I heat embossed it with a white and silver embossing powder.


I placed my photo through the chipboard oval and glued it on the layout.


I cut a piece of the beautiful lace to fit the length of my top background paper and glued into position. I splatted the background with some drops of one of the alcohol inks from the Mixed Media kit.


I added a doily behind the photo and chipboard on the left.


I then used the pack of gorgeous pink paper roses ( I loved the leaves in this too)
I made an arrangement round the bottom left side of the photo/frame...


and a smaller one round the top right of the photo/frame


I bent the curled wires into a rounded shape


and added them into the flower clusters


I love these Shabby Chic Garden Treasures and used the ladder and the watering can in this layout.


I added the watering can to the left side of the layout, tucking it underneath some of the leaves.


Now for the little details... the microspheres I dropped into some gel medium dotted around the layout


I  tucked in some dusky red twine tied into bows into the flower clusters.


Lastly as sometimes happens when I design a page I start of not using texture paste and stencils and then by the end I decide I want to use it! This was one of those layouts, so at this point I then added patches of stencilling around the design.


Last thing on the layout was some random stamping with black distress ink. I think it just adds a bit more detail and depth to the background of the layout and makes the layout 'pop' .


And voila! a finished layout.


Fancy having a go yourself with the sketch?
So here is how to enter this months sketch challenge...
Create your layout by the end of the month and add the layout to the Facebook Gallery photo album to be in with a chance to win a prize,  which can be found here:
 You can find more information in subscribing to these gorgeous kits every month to your door here
Also join us on Facebook here
And Instagram here


Thank you for taking the time to stop by the blog today. We all have lots more to share with you as the month goes on, so keep popping in! :)
Ginny  :)